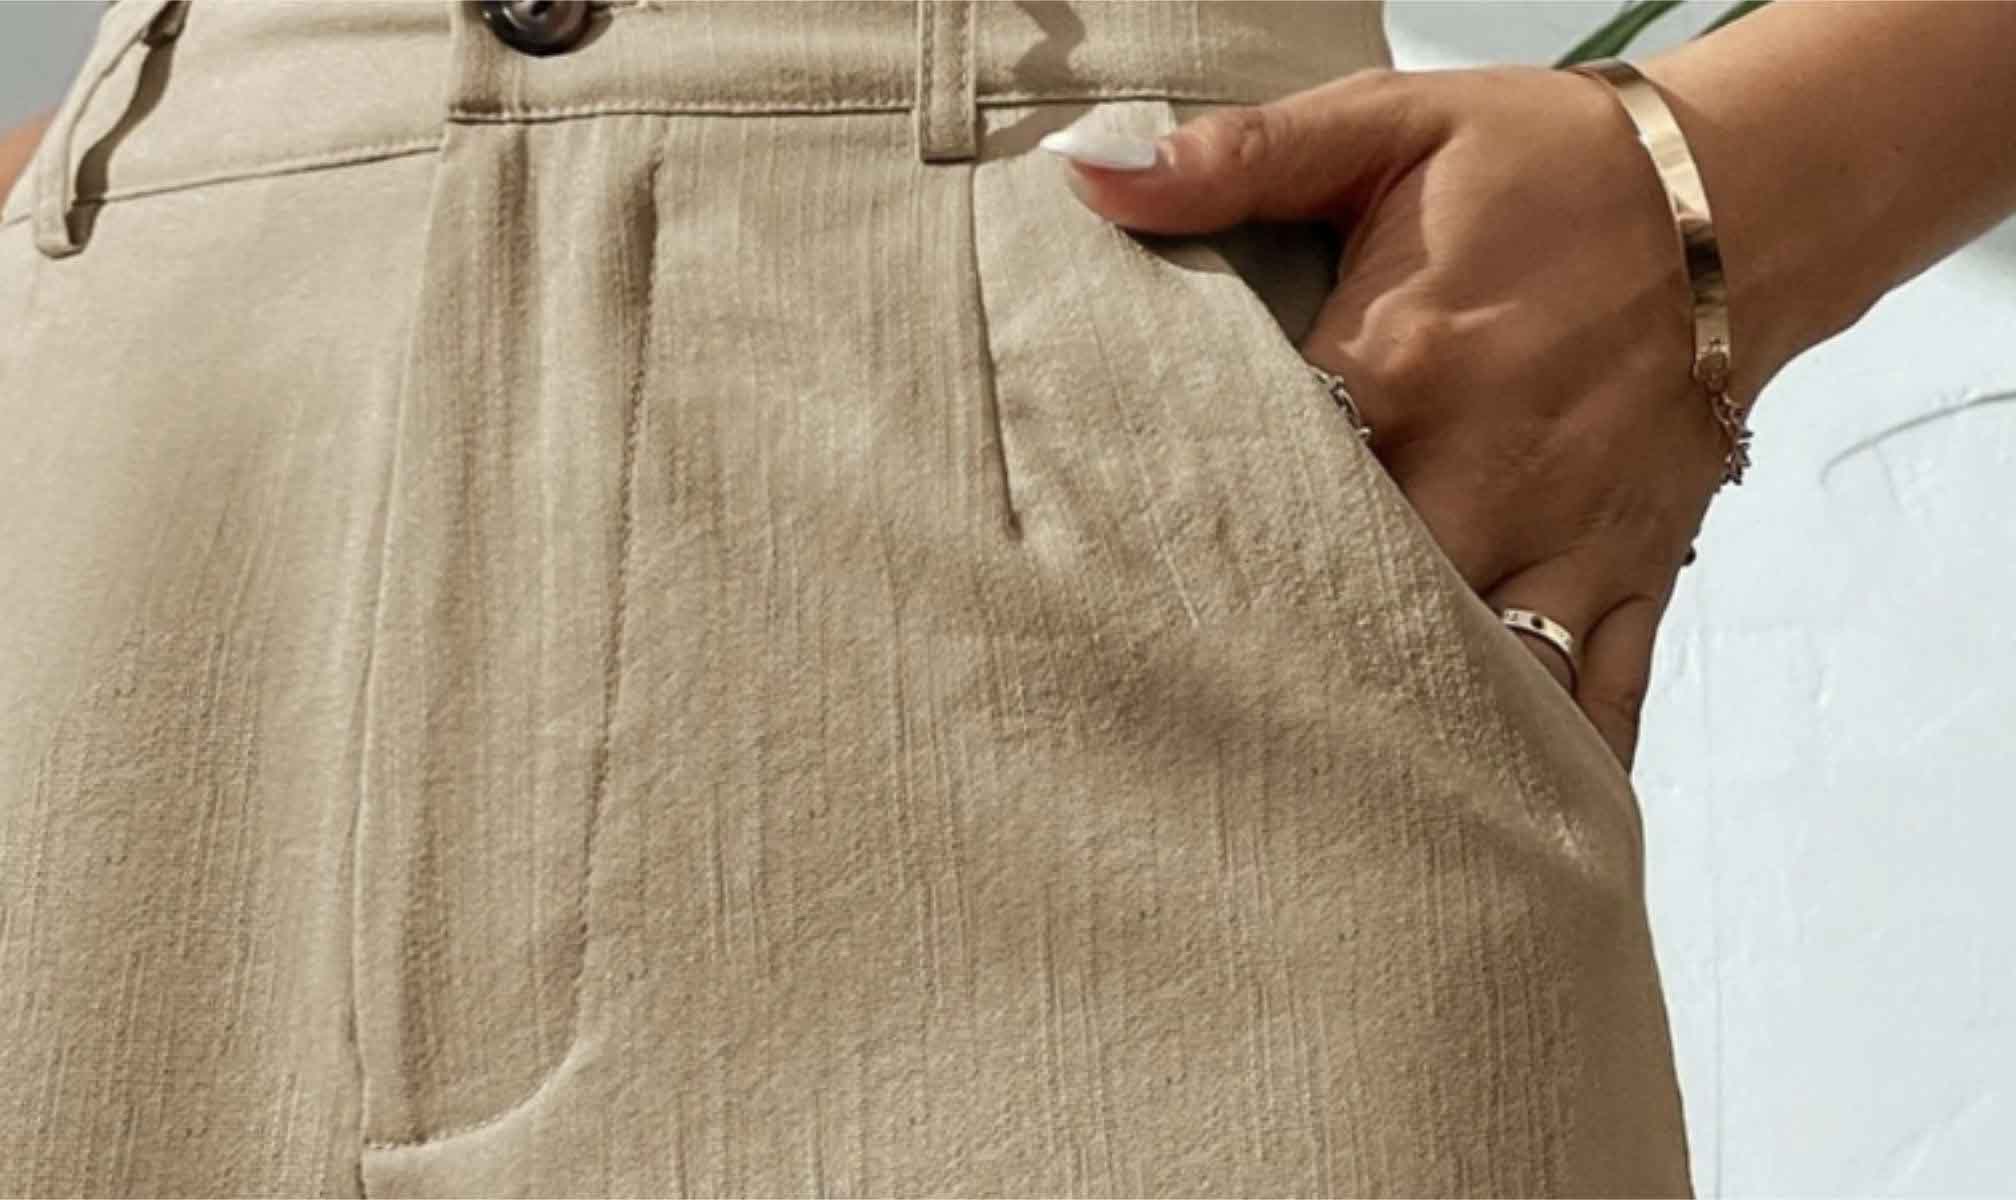
These side slant pockets are comfortable and very useful for pants and shorts, skirts and dresses. You can make them as deep as you wish.
Construction of Side Slant Pockets
The side slant pockets become a part of the front piece of the garment. For example, if you are making pants, you will attach the pockets to the front pant patterns. Making pockets is the first part of your garment assembly. After the pockets, you can attach a zipper, and finally, sew the pieces together.
What fabric should be used for pockets?
Fabric used for pockets or pocketing fabric should be thin and strong at the same time.
A pocket pouch consists of two layers of fabric that lay underneath the main material of the garment. This fabric has to be thin so that it doesn’t stand out in relief. The pockets should be unnoticeable unless the pockets are prominent by design.
In addition, you need very strong fabric for obvious reasons, – you don’t want your pockets to rip and lose their valuable content.
Natural pocketing materials are cotton and linen. Personally, I like ticking cotton fabric for my pockets. It’s thin and strong at the same time. But ticking cotton can be expensive.
Another material used for ticking is Silesia fabric named after its place of origin. Silesia is an historic region in Central Europe spreading throughout Poland, the Czech Republic, and Germany.
The pocket construction consist of three parts: two pocket liners and one visible patch. Personally, I like using ticking material for my pant pockets. The visible patch is made of the same fabric as the remainder of the garment you are making.
The method consists of two steps:
- Step 1: The front pocket liner is attached to the front piece of the garment.
- Step 2: The back pocket liner is attached to the front pocket liner.
It’s that simple! Let’s review the method step-by-step.
Step 1: Attaching Front Pocket Liner to the Front Piece of the Garment
Prepare Pocket Liners
- Use the front piece of the garment to make the total of four pocket liners: front and back liners for two pockets.
- The liners should be as wide as the front piece of your garment.
- Use thin, but durable fabric for your liners.
Make a Visible Patch
- We will attach the visible patch to the back side of the pocket that is showing through the opening. It is made of the same fabric as that used for the garment itself. As an option, you can make the entire back liner of the pocket with the garment fabric. But, if it’s too thick, the pocket may show through.

Create Pocket Slant in the Front Garment Piece:
- Measure along the waste line 2″ from the side seam towards the center and mark the top edge of the slanted opening. The 2″ distance is optional. You can make it bigger to give your pocket opening more slant.
- The pocket opening should be wide enough to fit the hand with 1″ margins on each side.
- Mark pocket corners. You can use a pencil or make small nicks with scissors.
- Next, fold the pocket slant along the bias.
- Because the fold runs along the bias, it can easily stretch and lose its shape. To avoid stretching, we need to reinforce the folding line with an adhesive liner or by making several quilting seams along the side of the line that will be folded so that the quilting seams are not visible in the final garment. (I use a cotton adhesive liner.)
- Fold along the line. The quilting stitches should be hidden.

Attach the Front Pocket Liner to the Front Garment Piece
- Cut off the triangle from the side of the pocket liner to match the pocket slant.

- Align the pocket liner with the front piece of the garment and fold the slant. Pin it to prepare for stitching.

- Stitch from the right side along the fold using thread and stitch selection that matches the color and texture of the fabric and the desired style. This seam will be visible. The photo below shows the white thread for demonstration purposes.

- Next, stitch along the folded corner of the front garment piece and the front liner of the pocket.

Step 2: Sewing Together the Front and Back Pocket Liners
Prepare the Back Pocket Liner
- Use zig-zag or overlock stitch along the curved edge of the visible patch.

- Attach the visible patch to the top side of the back liner by stitching along the curved border.

- Align the back pocket liner to the front garment piece making sure that the corresponding marks (nicks) in the seam allowances line up.

- The next step is to sew the two pocket liners together.
- Attach the pieces at the corners and reinforce the pocket opening with additional zig-zag stitches.

You can iron the front part of the garment at this time. The pockets are ready.

